


It’s common for photographers to want to take their work to the next level. In portrait, editorial and fashion photography, a great way to do this is to retouch your photos. However, many try and steer clear of retouching because of the negative stigma it has in terms of making an image look airbrushed and fake.
I’m going to show you a few tips and tricks to retouch your images and retain the natural and organic look of your subject’s skin. The key element to good retouching is going for subtlety. The goal is to make the person in the photograph look their absolute best, so aim for practicality.
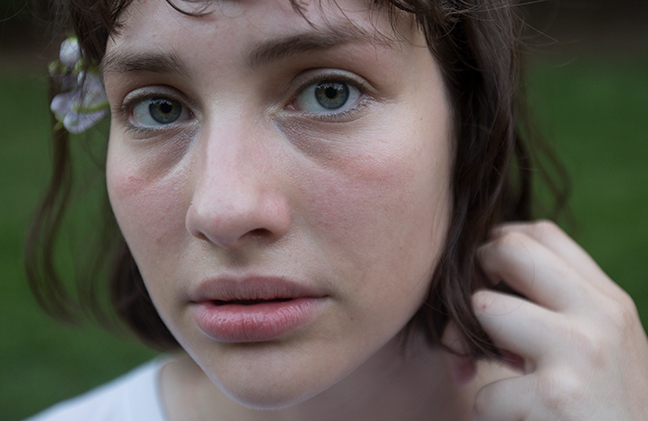
The method I used for this image is called frequency separation retouching and the program used is Adobe Photoshop.
Start by importing your image into Photoshop.
The next step is to create two duplicate layers of your background layer. Go into the layer panel (F7) and then right-click on your background layer, “Duplicate Layer,” then repeat the process. Once you have two duplicate layers, click on the eye icon for the top layer to make it invisible. Let’s also go ahead and rename the two new layers. Name the top layer “Texture” and the second layer “Skin.” Next, we’ll add a Gaussian Blur to the Skin layer (“Menu” > “Filter” > “Blur” > “Gaussian Blur”).
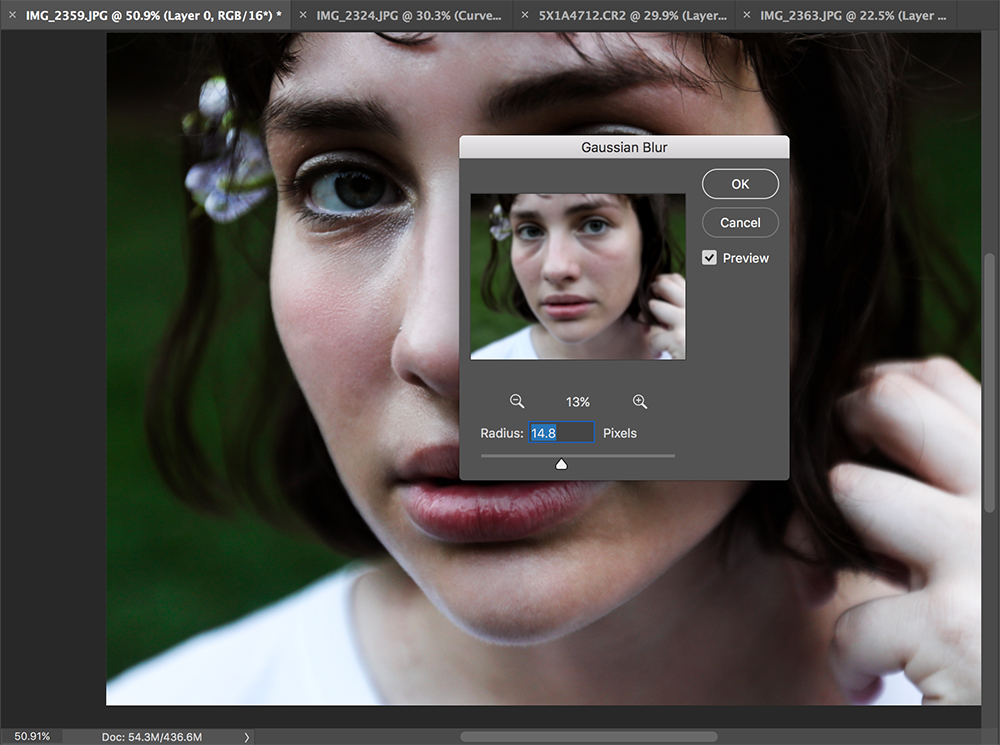
Depending on the quantity of blemishes on the subject, you may need to raise the strength of the blur effect. I recommend blurring the image until the major facial structures become softened. This layer will be used to blend and even out the skin tones of the subject. Click on the eye icon for the Texture layer again to make it visible. Then, select the Texture layer itself to make it active. Now, we’ll be adding a high pass filter onto the image so we can edit the structural details and remove the blemishes with minimal effort (“Menu” > “Image” > “Apply Image”).
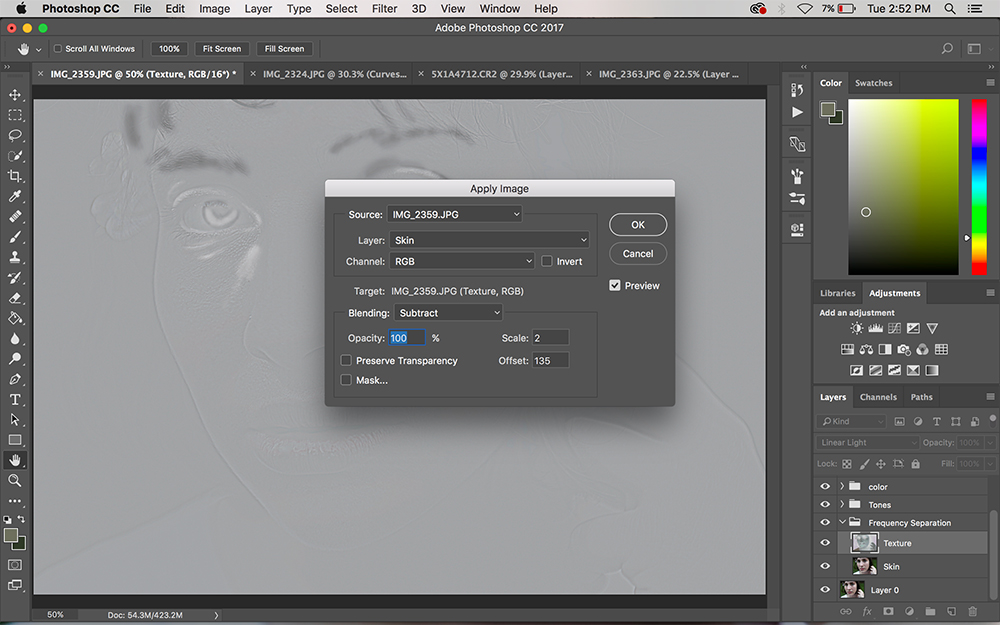
A new window will appear. Underneath “Source” > “Layer,” select the Skin layer with the Gaussian Blur. Underneath blending change the mode to “Subtract.”
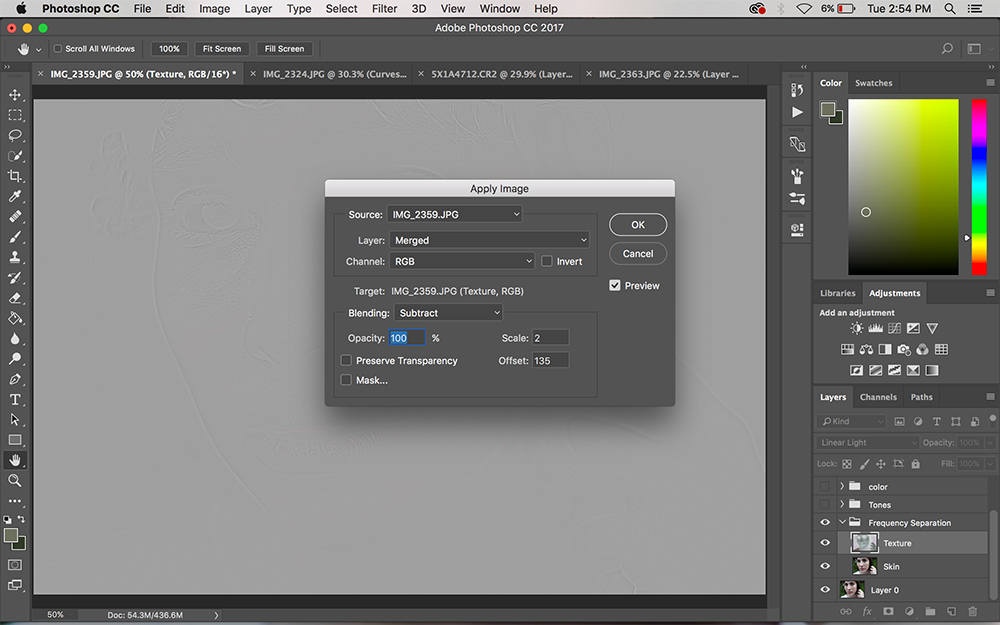
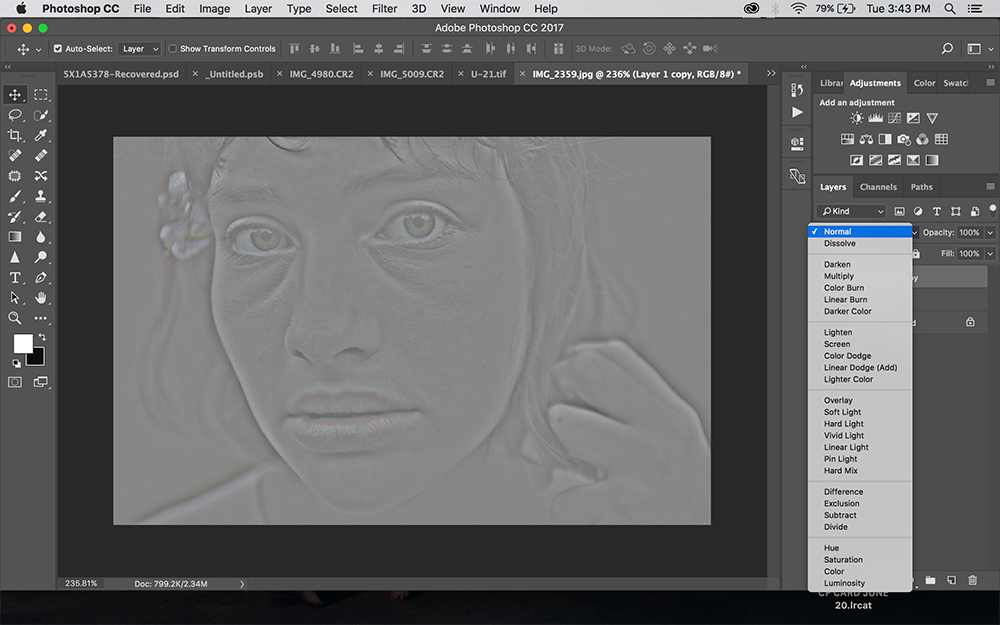
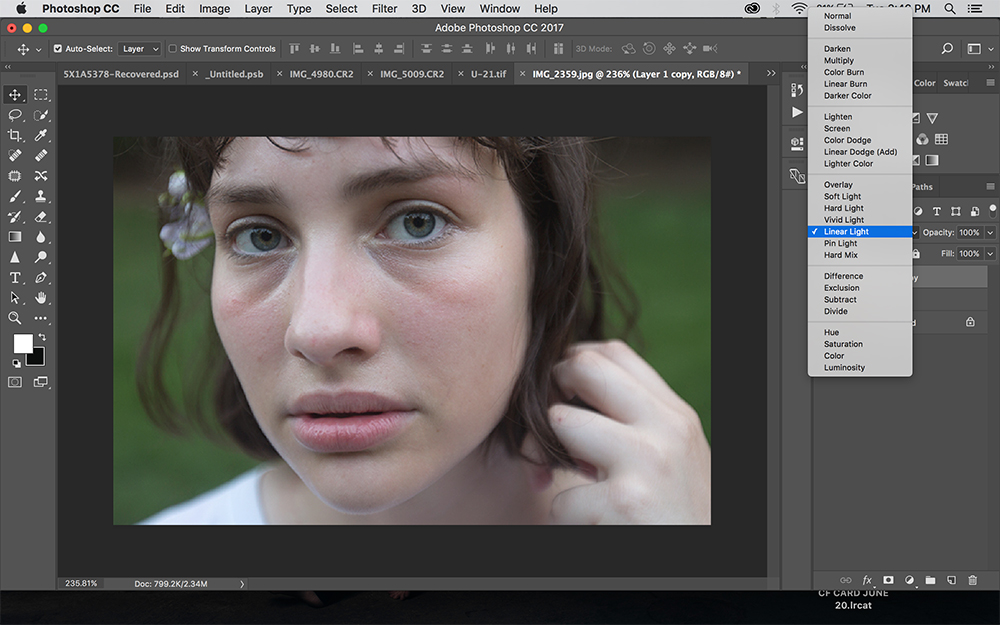
Change the scale to two, and offset to 135 for now. Keep in mind there is no correct set of numbers, and each image will have its own increments. Lastly, ensure that the box next to “Invert” is unchecked and click “OK”. The final step for setup is to change the blending mode of our Texture layer. As of right now, it should look something like this:
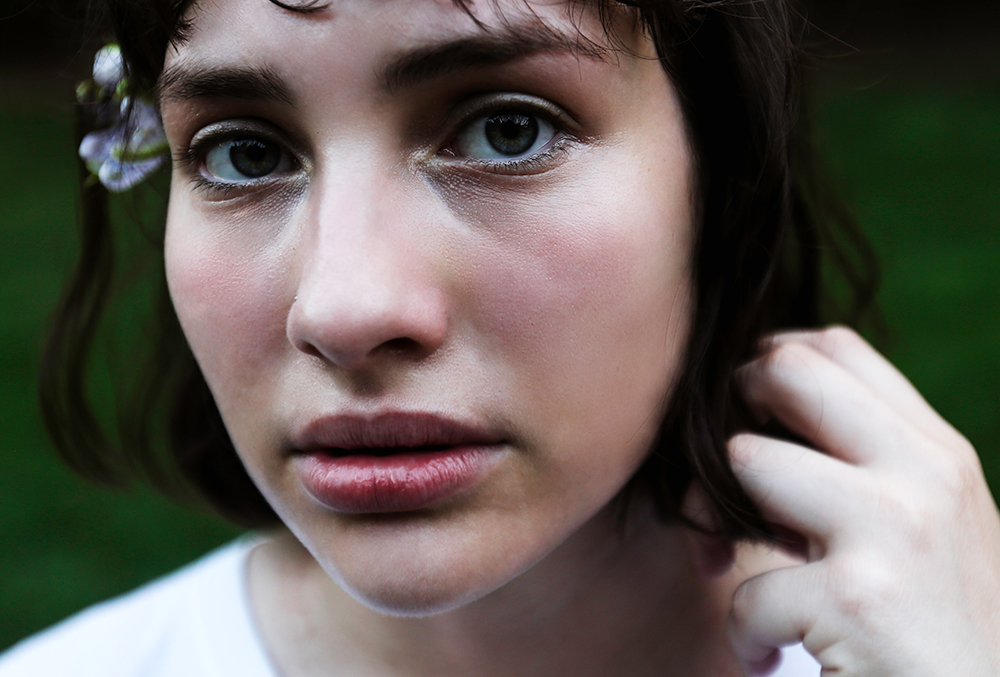
At this point, we should have our image set up and ready to edit. Using the Healing Brush (not the Spot Healing Brush), we can start on the skin layer. By option-clicking on a Mac or alt-clicking on a PC, you can take a sample of your subject’s skin. Do this in an area that is clear of any blemishing or discoloration. Now, begin using the brush to blend the discolored/uneven skin. A good tip is to zoom in and constantly re-sample from multiple areas so that way a pattern isn’t created. This applies to the Clone Stamp tool as well. What you do on the texture layer is completely up to your own discretion. You may find in some cases you don’t even need to work on this layer as the corrections made on the skin layer were sufficient enough. Have fun editing until the desired effect is achieved.