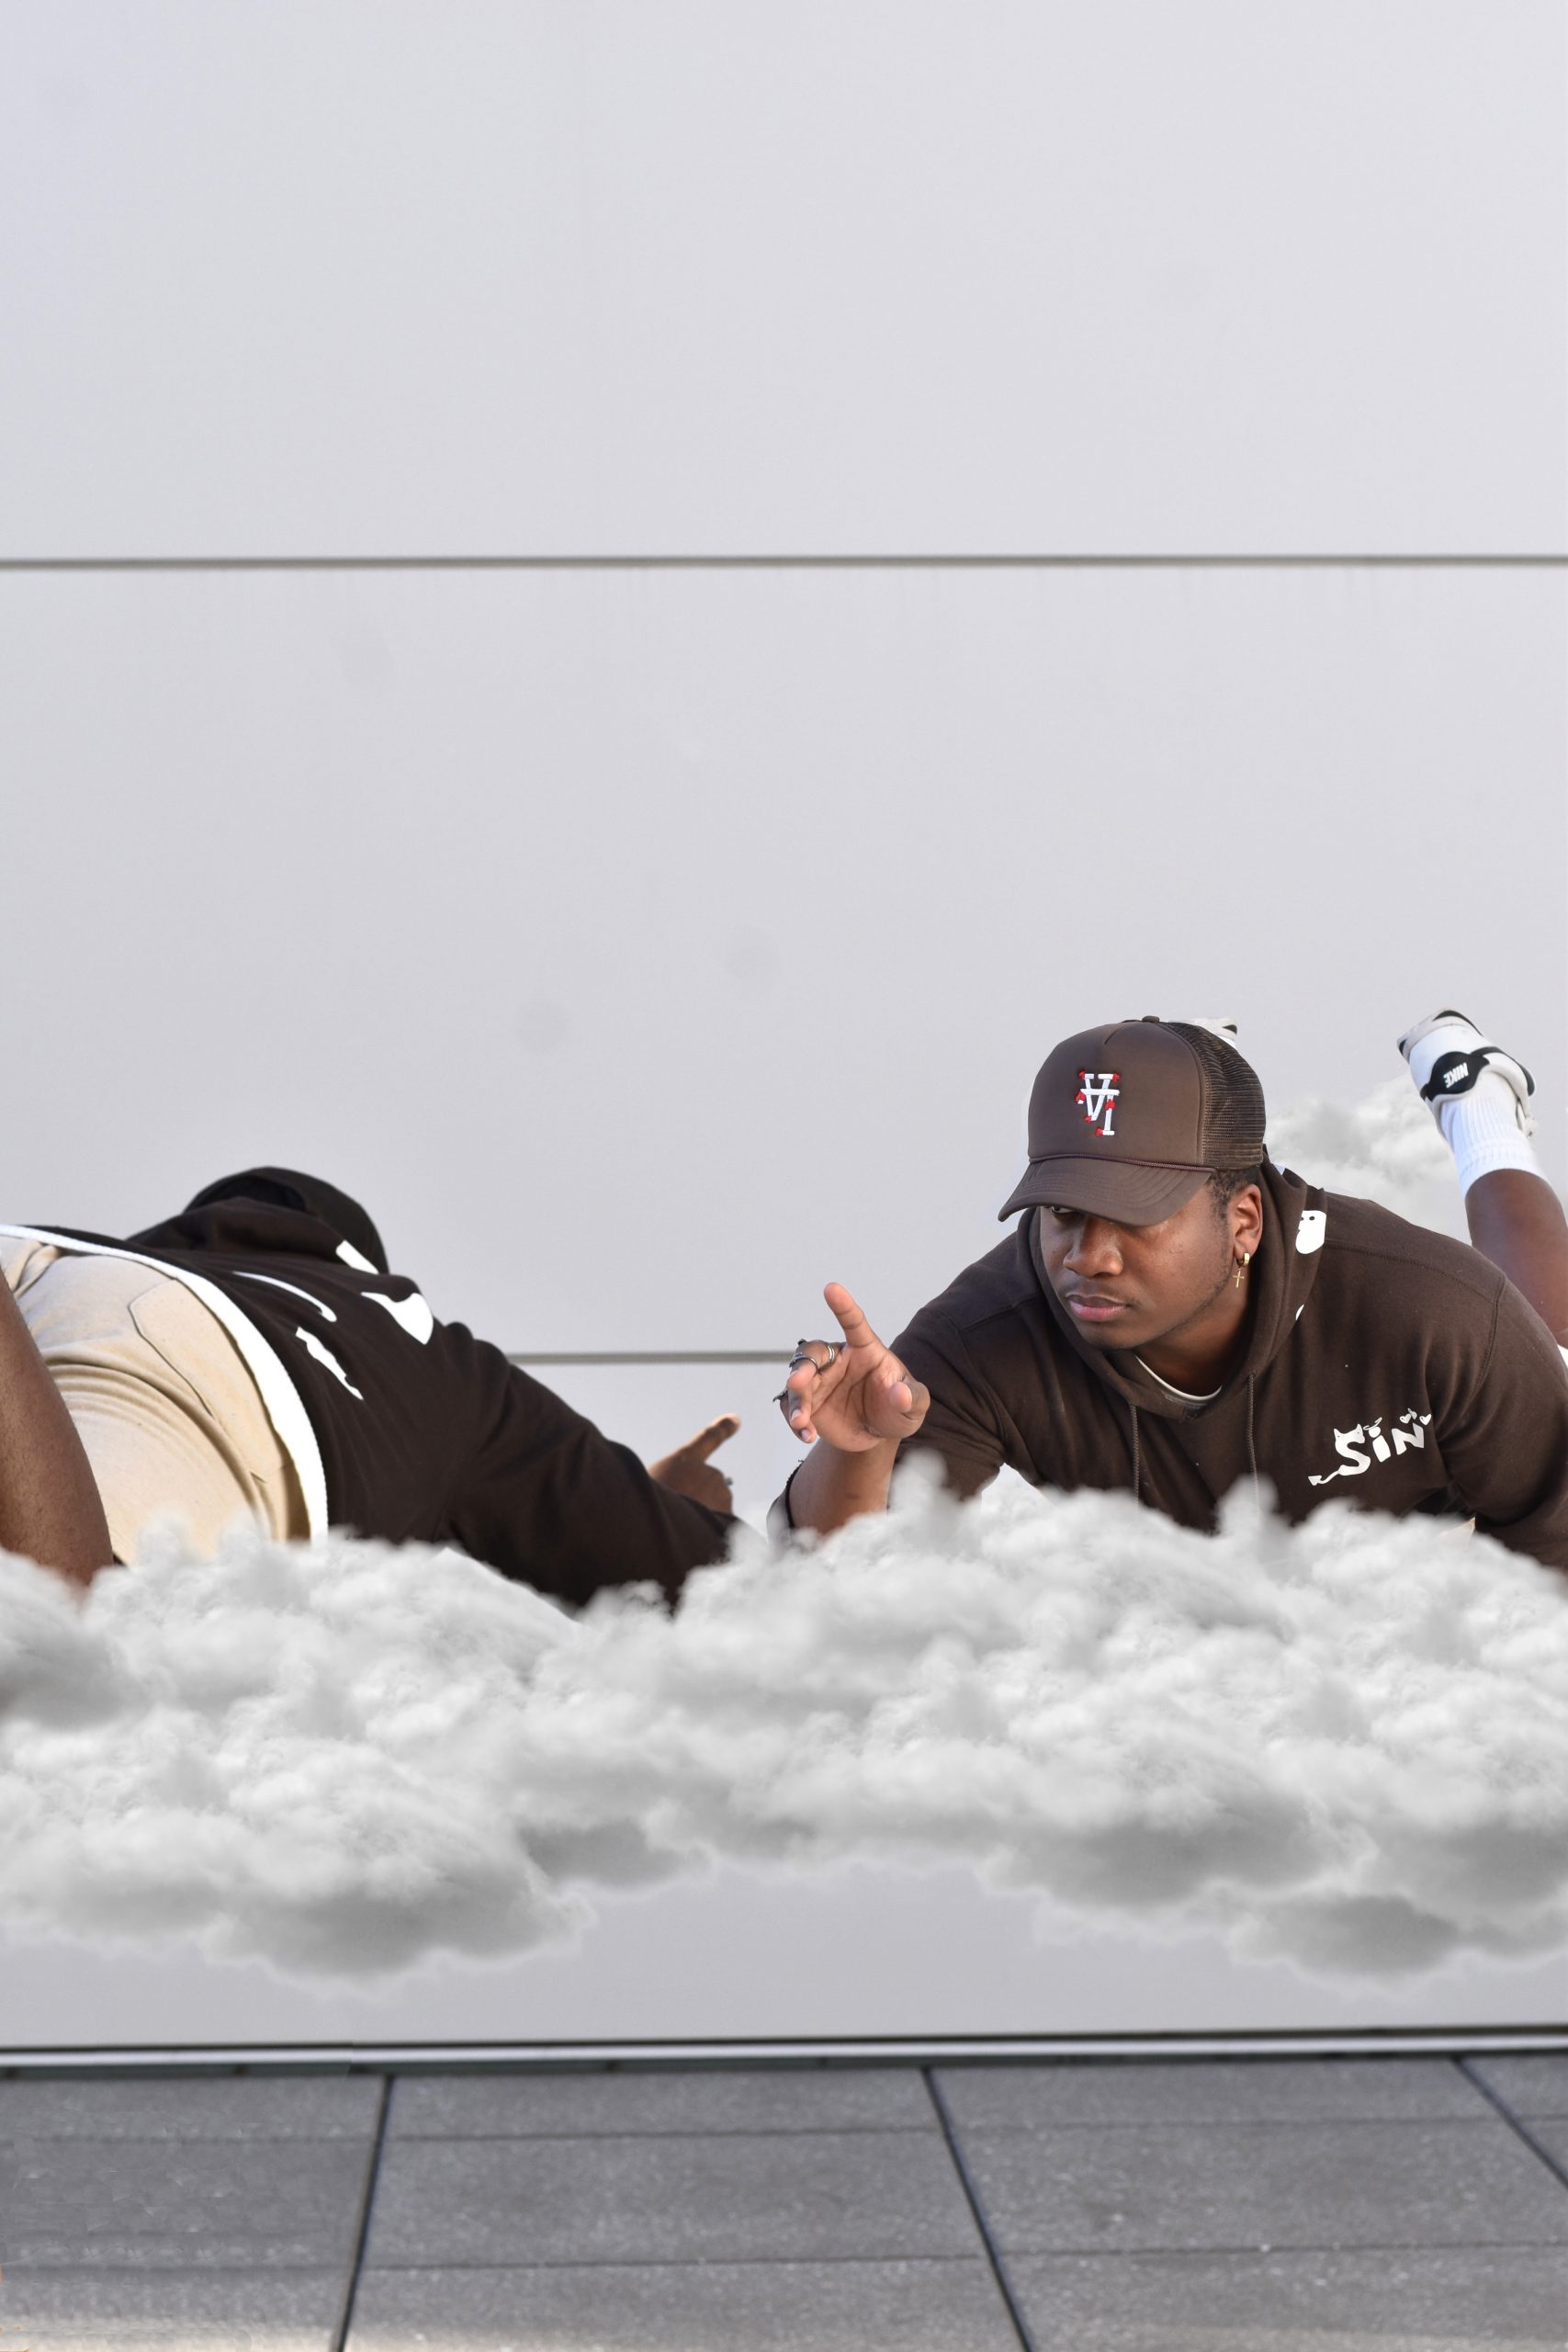
Every photographer has their niche or adds their own personal touch behind the lens or in the post-editing process. Personally, I enjoy levitation photography. Of course, I don’t have powers that allow me to defy gravity, and I also don’t have the energy to constantly jump at the perfect time in front of my camera. However, this video demonstrates my entire post-editing process in Adobe Photoshop.
If you want the text version, here it is:
- Open the base or background photo in Photoshop.
- Copy and paste the second photo in Photoshop after you add a new layer, or just press command + V on your Mac and CTRL + V on your PC.
- Organize the overlaying photo in the position you want by pressing command + T on your mac or CTRL + T on your PC, then adjust the size and location to your liking.
- Select the pasted image layer and click the circle inside of the folder icon, aka add “layer mask.”
- Select the paintbrush tool and paint over the unwanted area. Switch the stroke by pressing the letter “X” in case you don’t see any changes in the landscape.
- Clean up any shadowed areas or any lines/landscape features that need to be adjusted with the clone stamp tool or the spot healing brush.
- Save your image and export it as a JPEG.
To see more of my photography and edits, visit my Instagram.
