Tutorial: SCAN Fall 2016 Cover
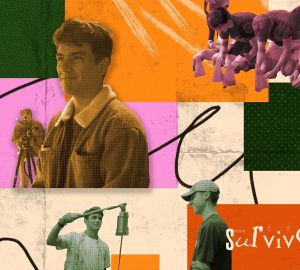
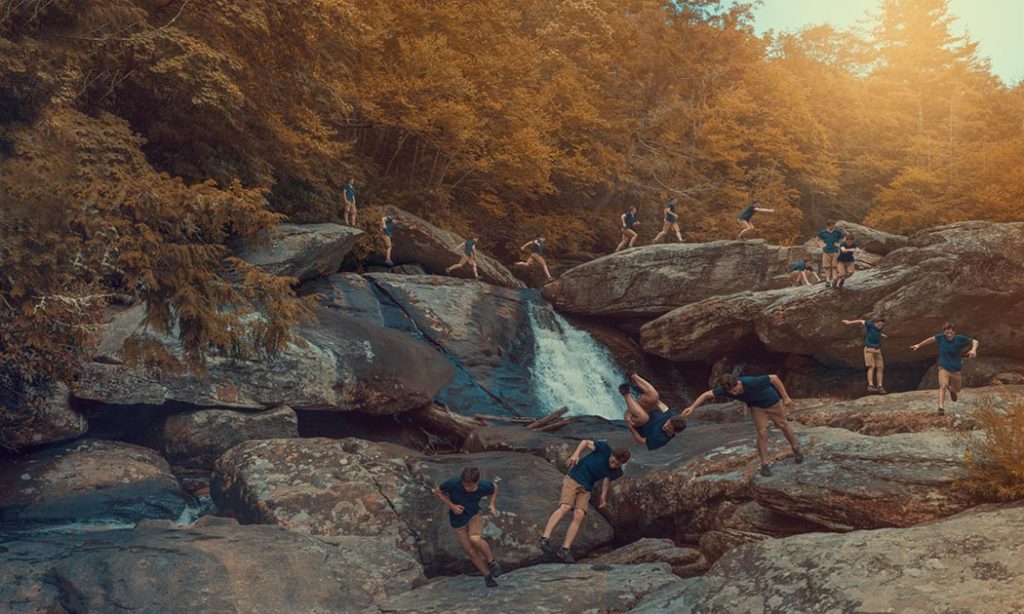
If you enjoyed the most recent SCAN cover and were wondering how it was made, you’re in luck. Here’s a tutorial coming at you.
First of all, for those who don’t know, this style of photo is called an “Action Sequence.” It is made by stitching together multiple shots of a subject, normally something in motion (such as a person or vehicle). There are several important things to remember when shooting an action sequence photo. As this was my first time shooting one, I experienced several difficulties. I will try to explain them, and the solutions I had to come up with.
- Planning – When planning to shoot an action sequence, it is important to know what type of lens you are going to use, as well what each lens has to offer. I used an 18-55mm Nikon Lens, zoomed all the way out to 18mm. While a wide angle lens is good for capturing a lot at once, like the finished cover, be aware that the width of the lens will cause distortion when you are stitching the photos together in post. If you want the smoothest editing experience, I suggest using a mid range zoom lens, such as a 50mm or 85mm, and shoot in a location that you will have enough room to shoot with the zoom. These lenses will not have as much distortion and will line up better in your editing software.
- Shooting – When you are ready to shoot, there are only a few things to keep in mind. First, make sure your subject is moving mainly perpendicular to the camera. Otherwise, you will have to do a little bit more work in post, like I did. As you can see by my image, the subject is moving across the frame in one direction, but then switches and goes the other direction. It’s at this change of direction where you will find trouble. If the subject is moving towards the camera at any point during your shots, there is a chance that you won’t be able to show the sequence of movement as well. This is because the subjects will end up stacked on top of each other, and won’t reveal the movement.
- Combining in Post – Once you have all your sequence shots taken, you can stitch them together in a photo editing software. The easiest program to do this in is Photoshop. The best way, in my opinion, to stitch photos together in Photoshop is File>Automate>Photomerge. You can then choose your images, and if you didn’t have any hiccups while shooting, Photoshop should stitch them together nicely. If you are like me, and made the mistakes I listed above, you will have to do some extra work in Photoshop. Specifically, several of my images were of my subject in the same place, but I still wanted to show the movement. What I had to do was cut out my subject in those areas and move him over a little. I did this with several images, until I could see the whole sequence of movement.
- Final Touches – After your whole sequence is properly spaced, aligned, and generally looking nice, you can add personal touches to it. For mine I mainly played with color, boosting the intensity of some or changing the hue of other colors. Whatever additions you do is up to you, just add some personal flair and have fun!

